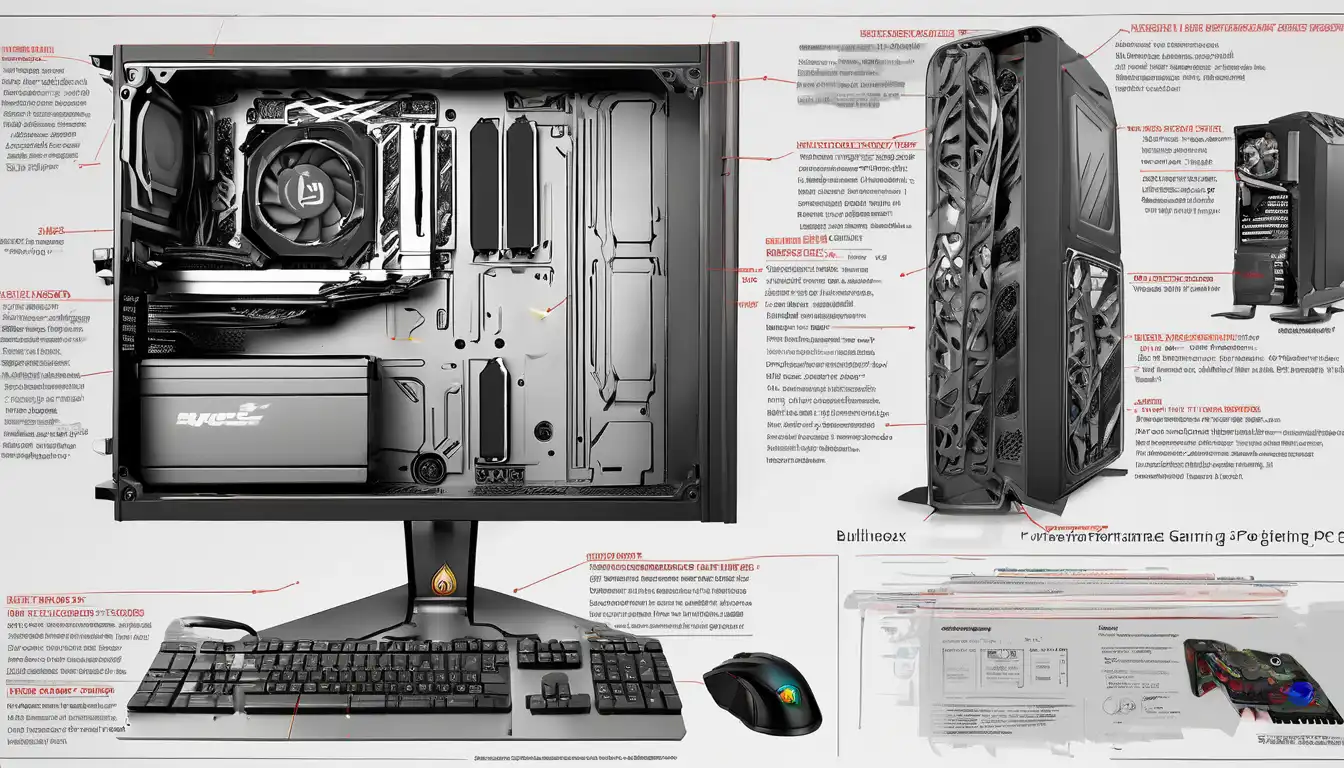
Introduction to High-Performance Gaming PC Assembly
Building a high-performance gaming PC represents one of the most rewarding experiences for any gaming enthusiast. Unlike pre-built systems, custom-built computers allow for complete control over component selection, ensuring optimal performance tailored to specific gaming requirements. This comprehensive guide walks through the entire process, from component selection to final assembly, providing valuable insights for both beginners and experienced builders.
Essential Components for Your Gaming Rig
Selecting the right components forms the foundation of any successful gaming PC build. Each part plays a crucial role in determining overall performance, compatibility, and future upgrade potential.
Central Processing Unit (CPU)
The CPU serves as the brain of your gaming system, handling game logic, physics calculations, and AI processing. Modern gaming benefits significantly from multi-core processors, with 6-core and 8-core CPUs representing the current sweet spot for gaming performance. Consider factors like clock speed, core count, and thermal design power when selecting your processor.
Graphics Processing Unit (GPU)
Arguably the most critical component for gaming, the GPU handles all visual rendering and determines your system's ability to run games at high resolutions and frame rates. Current-generation graphics cards offer features like ray tracing and DLSS, significantly enhancing visual fidelity. When choosing a GPU, consider your target resolution (1080p, 1440p, or 4K) and refresh rate requirements.
Motherboard Selection
The motherboard acts as the central nervous system, connecting all components and determining expansion capabilities. Key considerations include chipset compatibility with your chosen CPU, available PCIe slots for graphics cards and storage, RAM capacity, and connectivity options. Ensure your motherboard supports future technologies like PCIe 4.0 or 5.0 for longevity.
Memory (RAM) Requirements
Modern gaming systems benefit from 16GB of DDR4 or DDR5 RAM as a minimum, with 32GB becoming the new standard for high-end builds. Pay attention to memory speed and latency timings, as these factors can impact gaming performance, particularly in CPU-intensive titles. Dual-channel configurations typically offer better performance than single-channel setups.
Storage Solutions
Storage technology has evolved dramatically, with NVMe SSDs offering blistering fast load times compared to traditional hard drives. A combination of a large-capacity SSD for your operating system and frequently played games, paired with a high-capacity HDD for media storage, represents an optimal configuration. Consider PCIe 4.0 NVMe drives for maximum performance.
Power Supply Unit (PSU)
Often overlooked but critically important, the PSU provides stable power to all components. Select a unit with sufficient wattage headroom (typically 100-200 watts above your system's estimated consumption) and high efficiency rating (80 Plus Gold or better). Modular PSUs simplify cable management and improve airflow within the case.
Case and Cooling
The computer case not only houses your components but also affects thermal performance and noise levels. Look for cases with good airflow design, dust filtration, and adequate space for your chosen components. Cooling solutions range from air coolers to all-in-one liquid cooling systems, with the latter offering superior thermal performance for overclocked systems.
Step-by-Step Assembly Process
Proper assembly technique ensures optimal performance and longevity for your gaming PC. Follow these steps carefully to avoid common pitfalls.
Preparation and Workspace Setup
Begin by preparing a clean, static-free workspace with adequate lighting. Gather all necessary tools, including Phillips head screwdrivers, cable ties, and thermal paste. Always ground yourself before handling components to prevent electrostatic discharge damage. Lay out all components systematically for easy access during assembly.
Motherboard Preparation
Install the CPU, RAM, and M.2 SSD onto the motherboard before mounting it in the case. Apply thermal paste carefully if using an aftermarket CPU cooler. Refer to your motherboard manual for proper installation procedures and slot configurations. This pre-installation approach simplifies the process and reduces the risk of damaging components within the confined case space.
Case Preparation and Component Installation
Remove side panels and install the power supply, ensuring proper orientation for airflow. Install case fans according to your desired airflow configuration (typically front-to-back or bottom-to-top). Mount the motherboard using standoffs to prevent short circuits. Carefully route front panel connectors, ensuring proper alignment with motherboard headers.
Cable Management and Final Connections
Proper cable management improves airflow and maintains a clean interior. Use cable ties to bundle wires neatly along case channels. Connect all power cables from the PSU to respective components, ensuring secure connections. Double-check all connections before proceeding to the first boot sequence.
System Configuration and Optimization
After successful assembly, proper software configuration maximizes your gaming PC's potential.
BIOS/UEFI Settings
Access your motherboard's BIOS/UEFI interface to enable XMP/DOCP profiles for optimal RAM performance. Configure boot order to prioritize your installation media. Update BIOS to the latest version for improved stability and compatibility. Enable Resizable BAR support if available for potential gaming performance gains.
Operating System Installation
Install your preferred operating system, typically Windows 10 or 11 for gaming. During installation, ensure you select the correct drive and partition scheme. After installation, install latest drivers for all components, starting with chipset drivers followed by GPU drivers. Regular driver updates maintain optimal performance and compatibility with new game releases.
Performance Tuning and Monitoring
Use benchmarking tools to establish baseline performance metrics. Consider mild overclocking for additional performance gains, but prioritize stability over maximum clock speeds. Install monitoring software to track temperatures and usage statistics during gaming sessions. Proper cooling ensures consistent performance during extended play sessions.
Maintenance and Future Upgrades
Regular maintenance preserves your investment and ensures long-term reliability.
Routine Cleaning Schedule
Dust accumulation represents the most common cause of thermal throttling and component failure. Establish a quarterly cleaning routine using compressed air to remove dust from fans, heatsinks, and filters. Monitor temperatures regularly using software utilities to identify potential cooling issues before they impact performance.
Component Upgrade Planning
Plan upgrades strategically based on gaming requirements and technological advancements. GPU upgrades typically provide the most significant gaming performance improvements. Consider storage expansion as game file sizes continue to increase. Monitor industry trends to time upgrades for maximum value and performance gains.
Conclusion: Your Path to Gaming Excellence
Building a high-performance gaming PC represents an investment in your gaming experience. The knowledge gained through the building process empowers you to make informed decisions about future upgrades and troubleshooting. Remember that the gaming PC community offers extensive resources for support and inspiration. For more detailed information on specific components, check out our gaming components comparison guide and troubleshooting tips. Happy building!